Basic Guide for the Preparation of External Plaster
Preparing the external plaster on a building requires following certain steps. Before putting on the external finish, you should finish masonry work and scaffolding. Fill external gaps and joins with rich cement mortar, 1:13 with wires, and finish the surface with a layer of plaster two days before you start applying the plaster. This will allow the Gypsum to cure properly. Follow the steps below to prepare the exterior of your building.
Techniques
There are various techniques for the preparation of external plaster. Firstly, you need to prepare the scaffolding for the plastering. The scaffolding is prepared by cutting timber or bamboo segments 1.2 meters apart, and fitting them to the wall. After this, tie ledgers between each standard at every four to five feet and fit them into the holes in the masonry/blockwork walls. You should be careful to avoid cracks.
Materials
Before you start applying the external plaster to your building, you should know the right material for the job. There are several types of materials available, and the one you choose depends on the exterior finish you want for your building.
There are plasters with pebble-dashed, smooth, and sand faced finishes, and they all have different strengths. In order to properly apply the plaster to a building, you need to complete masonry work and set up scaffolding. You should also have a mix of cement and sand that is equal in proportion, but not more than three bags. The cement should be applied to the first coat without cracks.
Cement sand ratio
The cement sand ratio for the preparation of external plaster is one part cement to four parts sand. This ratio varies from one site to another. Usually, approximately 20% water by weight is added to achieve the desired workability. Nevertheless, if this is not possible, a proportion of one part cement to one part sand should be used. In any case, the resulting mix ratio should be accurate within a wide range.
Gypsum cures in minutes
In a matter of minutes, gypsum is cured to a hardened and aesthetically pleasing surface. As an ingredient in many building materials, gypsum is a versatile substance. It is widely used as a finish for walls, and is also a component in plasterboard and drywall. In addition to being a popular finish, gypsum is also used in sculpting and mold-making. It is also an excellent soil conditioner and a useful remedy for compacted soil.
Lime putty cures in two to three weeks
Lime putty is a mixture of lime and water. It is generally non-hydraulic and has a creamy consistency. Depending on the lime used, the putty may take anywhere from two to three weeks to cure. Excess water will result in a slurry, while the proper proportion will result in a dry material. The putty may be stored under water for several days or weeks.
Cleaning
Clean your exterior plaster with a water blaster or knapsack. Don’t use industrial cleaning soaps as they can damage the plaster. Instead, use a mild soap with a neutraliser such as lemon or baking soda to tackle algae and mould. Also, don’t use washing-up liquids or abrasives – these can damage the plaster. To keep moss at bay, use a salt neutraliser.
Retardants
The range of external wall finishing products is huge. However, the use of new materials like composite cladding and insulated concrete panels does not mean the old ones will go out of style. The use of these materials requires a support frame or fastening features, which can increase the cost and time involved in the process. For a more durable finish, it is better to use a high-quality plaster.
Angle Beads
Angle Beads, also known as Corner Beads, are a great way to create an angled line above the edges of the plaster. These tools will protect the delicate plaster and save you considerable time. Angle beads can be purchased in different materials, including galvanized steel, stainless steel, and plastic. Angle beads can be bought for both internal and external use. Some types are suitable for internal plaster and gypsum-based plaster.
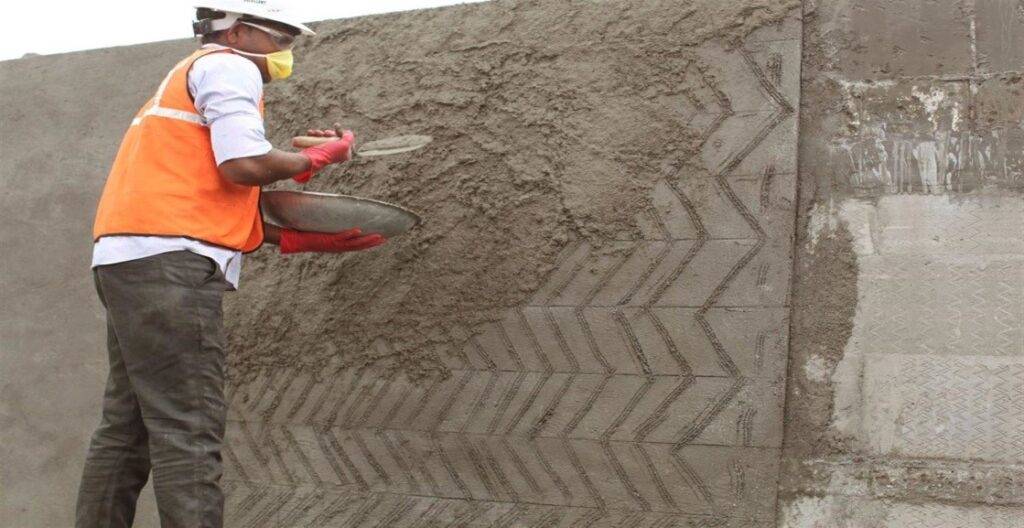
Using a hawk
Using a hawk to prepare external walls is an excellent way to remove the uneven layers of plaster on a wall. It can also be used to remove hard layers of plaster. The plaster mix should resemble mousse and be wet enough to slide off a trowel but firm enough to hold its form on the hawk. After mixing, leave the mix for 10 to 30 minutes to ‘tighten up’ and then add the remainder of water to bring it back to the original consistency. This process may require more water in the beginning, so make sure to experiment with the plaster mix.
Article Credit: Exterior plastering auckland